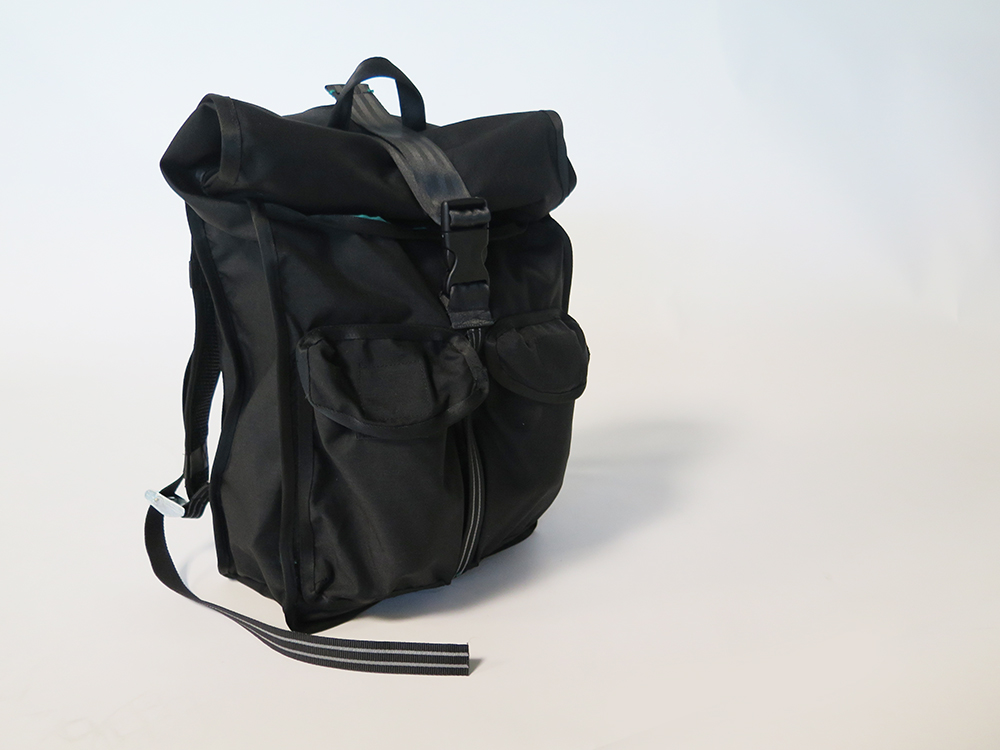
How to sew a backpack?
How to sew a backpack? Sewing a backpack allows you to customize and create a functional bag that meets your specific needs. Whether you are an experienced sewer or a beginner, following a step-by-step guide will help you successfully complete your project. In this guide, we will provide detailed instructions on how to sew a backpack, from selecting materials to assembling the final product.
Materials Needed:
Before you begin sewing a laravel backpack, gather the following materials:
- Fabric (outer fabric, lining fabric, and any additional fabric for pockets or accents)
- Interfacing or stabilizer (for added structure and stability)
- Zippers, buckles, or other closures
- Webbing or straps for handles and shoulder straps
- Thread
- Sewing machine
- Scissors
- Pins or clips
Design and Pattern:
Start by designing your backpack and creating a pattern. Consider the desired size, pockets, closures, and any other features you want to include. You can find backpack patterns online, in sewing books, or create your own custom pattern by modifying existing patterns. Transfer the pattern onto pattern paper or trace it onto cardboard for durability.
Select and Prep Fabric:
Choose appropriate fabrics for your backpack. Consider durability, weight, and aesthetic appeal. Pre-wash and iron the fabrics to ensure they won’t shrink after sewing. If using interfacing or stabilizer, cut pieces according to the pattern and follow the manufacturer’s instructions to adhere it to the appropriate fabric pieces.
Cut Fabric:
Using the pattern pieces, carefully cut out the fabric components needed for your backpack. Make sure to cut the correct number of pieces for each part, such as the front, back, sides, bottom, and lining. Also, cut any additional pieces for pockets, straps, or other design elements as indicated in your pattern.
Assemble the Front and Back Panels:
Pin or clip the fabric pieces for the front and back panels together, right sides facing. Sew along the edges, leaving the top open. Repeat this step for the lining fabric. Trim any excess fabric and clip the corners. Turn both the outer fabric and lining right side out and press them flat.
Attach the Front and Back Panels with Sides and Bottom:
Align the sides and bottom pieces with the front and back panels, right sides together. Pin or clip in place and sew along the edges, leaving the top open. Repeat this step for both the outer fabric and lining. Trim any excess fabric and clip the corners.
Add Pockets and Zippers:
If your backpack design includes pockets, sew them onto the appropriate panels at this stage. For zippers, mark the desired placement on the fabric and carefully sew them in place using a zipper foot on your sewing machine. If adding additional closures or buckles, follow the manufacturer’s instructions for installation.
Sew Shoulder Straps and Handles:
Cut the webbing or fabric strips to the desired length for the shoulder straps and handles. Fold and sew the edges to prevent fraying. Attach the straps and handles to the appropriate positions on the jansport backpack, ensuring they are securely sewn in place.
Sew the Lining and Outer Fabric Together:
With the outer fabric inside out and the lining fabric right side out, insert the lining into the outer fabric, matching up the top edges. Pin or clip the edges together and sew all the way around the top opening, leaving a small section open for turning.
Finish and Turn the Backpack:
Through the opening left in the previous step, carefully turn the entire backpack right side out. Use a turning tool or a chopstick to push out the corners and edges. Press the backpack flat, making sure all seams are aligned neatly.
Topstitch and Complete the Backpack:
Topstitch around the top edge of the backpack, closing the opening used for turning. Make additional topstitching as desired for added reinforcement and style. Trim any loose threads and give the backpack a final press.
Things to note when sew a backpack
Sewing a backpack is an exciting project that allows you to showcase your creativity and craftsmanship. However, to ensure a successful outcome, it’s crucial to pay attention to certain important considerations.
Fabric Selection:
Choosing the right fabric is crucial for the durability and functionality of your kanken backpack. Consider the following factors when selecting fabrics:
Durability: Opt for sturdy fabrics such as canvas, Cordura nylon, or heavy-duty polyester that can withstand the stresses of everyday use.
Waterproof or Water-Resistant: Consider adding a water-resistant coating or using waterproof fabrics to protect your belongings from moisture.
Lining Fabric: Select a lightweight and smooth fabric for the lining to facilitate easy movement of items inside the backpack.
Pattern and Seam Allowance:
Ensure you carefully follow the pattern instructions, paying attention to the seam allowance specified. Precision in cutting, pinning, and sewing will result in a well-fitting and sturdy backpack. Take your time to measure and mark the seam allowance accurately on all pattern pieces.
Reinforcement:
Reinforcing certain areas of your backpack is essential for durability. Consider the following reinforcement techniques:
Interfacing or Stabilizer: Apply interfacing or stabilizer to areas that require additional structure and support, such as the bottoms of pockets, straps, or areas prone to wear and tear.
Reinforced Stitching: Reinforce stress points, such as the straps or attachment points, with double stitching or bar tacks to ensure they can withstand heavy loads.
Construction Techniques:
Follow these construction techniques to ensure a secure and long-lasting backpack:
Use appropriate machine settings and needles for the fabric being sewn to prevent skipped stitches or fabric damage.
Reinforce backstitching at the beginning and end of seams to prevent unraveling.
Press seams open or to one side for a clean and professional finish. d. Trim excess fabric and clip corners to reduce bulk and achieve crisp edges.
Hardware and Closures:
Pay close attention to the installation of hardware and closures to ensure functionality and durability:
Zippers: Install zippers correctly, ensuring they are properly aligned and securely sewn to prevent snagging or separation.
Buckles and Fasteners: Choose high-quality buckles and fasteners that can withstand constant use. Install them securely and test their functionality before completing your backpack.
Finishing Touches:
To achieve a polished and professional look, focus on the following finishing touches:
Topstitching: Consider adding topstitching along seams or near edges for added reinforcement and a finished appearance.
Trimming: Trim loose threads and excess fabric after completing each step to maintain a clean and tidy appearance.
Conclusion:
Sewing your own backpack allows you to create a personalized and functional bag that meets your unique needs. By following this step-by-step guide and paying attention to details during each stage, you can successfully sew a backpack that showcases your creativity and sewing skills. Remember to choose quality fabrics and materials, follow the pattern accurately, and take your time to ensure precise stitching. Enjoy the process as you bring your backpack to life and embrace the satisfaction of using a bag that reflects your personal style and craftsmanship.
Related Posts
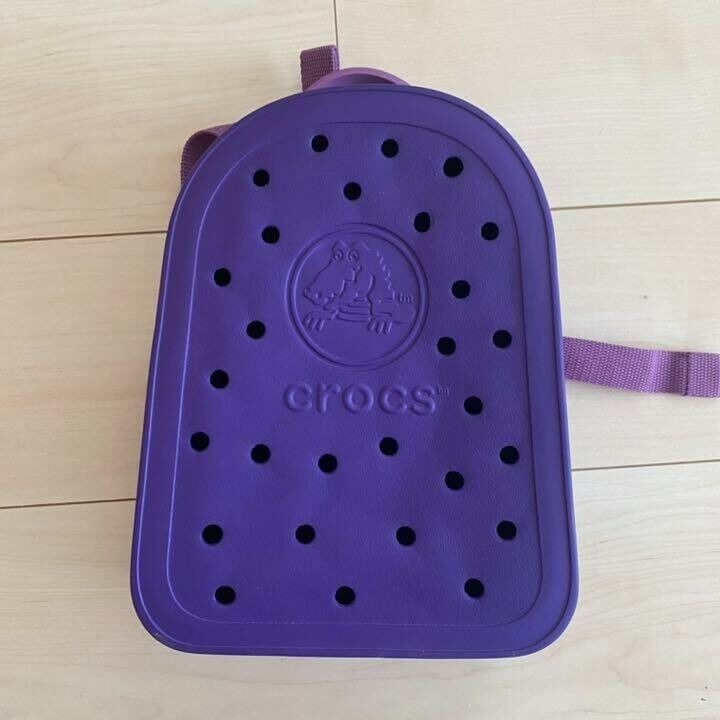
The Crocs Backpack – Trendy and Functional for Your Bags
Sleek Adidas Backpack for Your Active Lifestyle – Sport Bag