Craft Your Own DIY Backpack: A Step-by-Step Guide
Introduction
Welcome to the world of diy backpack crafting! Whether you’re an adventurous spirit or enjoy creating functional art, making your own backpack offers a chance to personalize your gear for any journey. This guide will walk you through the process step by step, from the initial design to the final touches. Not only will you learn how to construct a backpack that meets your needs, but you’ll also gain the satisfaction of using a bag that’s entirely your own creation. With our expert tips, even beginners can embark on this rewarding project. Ready to start? Let’s get crafting!
Essential Materials and Tools
Before diving into the exciting world of travel backpack creation, it’s crucial to have the necessary materials and tools at hand. Here is a carefully compiled list to help you get started:
- Durable Fabric: Choose a strong fabric like Cordura or ripstop nylon for the backpack’s exterior. For the lining, a lighter fabric can be used.
- Foam Padding: Closed cell foam is great for back and strap padding. It adds structure and comfort.
- Sewing Machine: A heavy-duty sewing machine is preferable, but a regular machine can work with lighter fabrics.
- Sewing Supplies: You’ll need threads, scissors, needles, and possibly a rotary cutter.
- Webbing: Essential for straps; nylon webbing is durable and comes in various widths.
- Hardware: Buckles, zippers, and D-rings to hold the structure and provide functionality.
- Pattern Paper: Large paper or grid paper serves well for drawing patterns.
- Fabric Chalk: For marking cuts and folds on fabric.
- Ruler and Measuring Tape: For accurate measurements.
These materials form the building blocks of your DIY backpack. Remember that the weight, durability, and machine capability will impact your choice of materials.
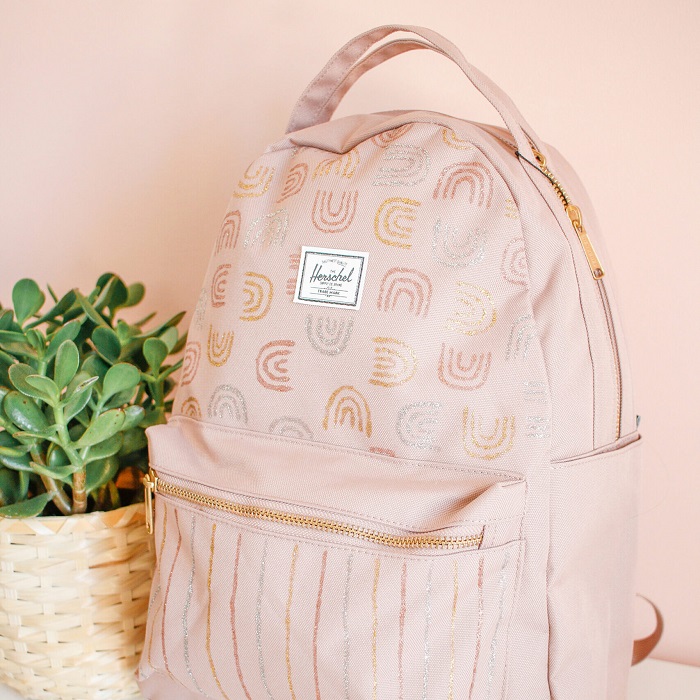
Backpack Design Conceptualization
Begin by considering your needs for a diy backpack. Think about daily use and what features are important. Reflect on the size desired and list items you’ll carry. Decide on the number of compartments and pocket arrangements. Prioritize comfort, weight distribution, and accessibility. Envision the backpack’s appearance, including color and style preferences. Incorporate functionality with design to suit your lifestyle. Whether it’s for hiking, commuting, or travel, let your activities guide the design. Next, identify any special requirements, like a laptop compartment or water bottle pockets.
Drawing and Sketching Your Backpack
After deciding on your diy backpack’s features, it’s time to put pen to paper. Grab your pattern paper, pencils, and ruler, and let’s begin. Start with simple shapes, illustrating front, side, and top views. These basic sketches will outline your backpack’s proportions and pocket placement.
Keep your designs clear
Use shading to differentiate between materials, like solid for Cordura and cross-hatching for mesh parts. Consider where you want zippers, pockets, and straps. Aim for practicality; every element should serve a purpose, look good, and be sewable.
Include a water bottle holder if that’s important to you. If you bike to work, add reflective materials for safety. A padded laptop sleeve might be crucial for tech carriers, so sketch it in. Remember, this sketch is for you to visualize your handbag backpack.
As you sketch
Think about the bag’s construction. How will the pieces come together? Imagine it as an unassembled puzzle. Each part has a place. Your sketches guide the pattern-making and sewing steps.
Adjust your drawings as needed. Your first draft might not be perfect, and that’s okay. The goal is to refine your ideas and create a clear plan for your backpack.
Once your sketches feel right, review them against your initial concept. Ensure your design matches your daily needs and style preferences. Happy with your drawing? Let’s proceed to turn them into patterns.
Crafting the Pattern
Transitioning your sketches to a usable pattern is next. Begin by gathering pattern-making tools: grid paper, a ruler, scissors, and pencils. Lay out paper and draw each backpack part to scale. Think of it as a 2D version of your backpack.
To ensure accuracy, measure twice before cutting your patterns. Label each piece clearly with its name and dimensions. Remember, mistakes in your pattern can lead to issues later in sewing. If you’re unsure about dimensions, use a similar backpack for reference.
Reflect the design’s features in your pattern
For a laptop compartment, include a foam-padded section. Designate sections for water bottles and additional pockets. For comfort, include ergonomic strap designs in your pattern.
Patterns can include straight and curved lines. Use a straight edge for precise lines and a flexible curve ruler for the rest. Double-check symmetry for parts like straps and pockets.
Make copies of your original pattern. This saves your master pattern and allows experimentation with modifications. Once satisfied, your pattern is ready for prototyping.
Creating a Prototype
Creating a prototype is a key step in crafting your DIY backpack. It allows you to experiment with your design and iron out any kinks before using the final materials. Here’s how you can create a prototype:
- Select Material: Use inexpensive fabric that mimics the weight and flexibility of your final fabrics.
- Cut Patterns: Trace your pattern onto the prototype material and cut out the pieces.
- Assemble Pieces: Pin and stitch parts together loosely; this is just a test run.
- Examine Structure: Check the size, fit, and placement of pockets and straps.
- Make Adjustments: Note any changes needed for the design, size, or construction order.
Remember, your prototype won’t look perfect, and it doesn’t have to. The goal is to test functionality and make mistakes here, not with your good fabric. Testing with a prototype will save you time and resources in the long run. Once you’re pleased with your prototype, you’re ready to move on to the real deal.
Cutting and Preparing Your Fabrics
Now that you have a pattern, it’s time to bring it to life. Remember, precision in cutting is key for a well-structured backpack. Here’s what you need to do:
- Lay Out Fabric: Spread your chosen fabric on a flat surface, with the wrong side up. Ensure there are no creases or folds.
- Position Pattern: Arrange your pattern pieces on the fabric. Aim for minimal waste.
- Trace Patterns: Use fabric chalk to outline each pattern piece on the fabric.
- Cut Fabric: Carefully cut along the traced lines with sharp scissors or a rotary cutter.
As you cut your fabric, think about the diy backpack taking shape. The outer fabric will form the backpack’s shell, and the lining will create a smooth interior. If your design includes a foam padding, cut this now too.
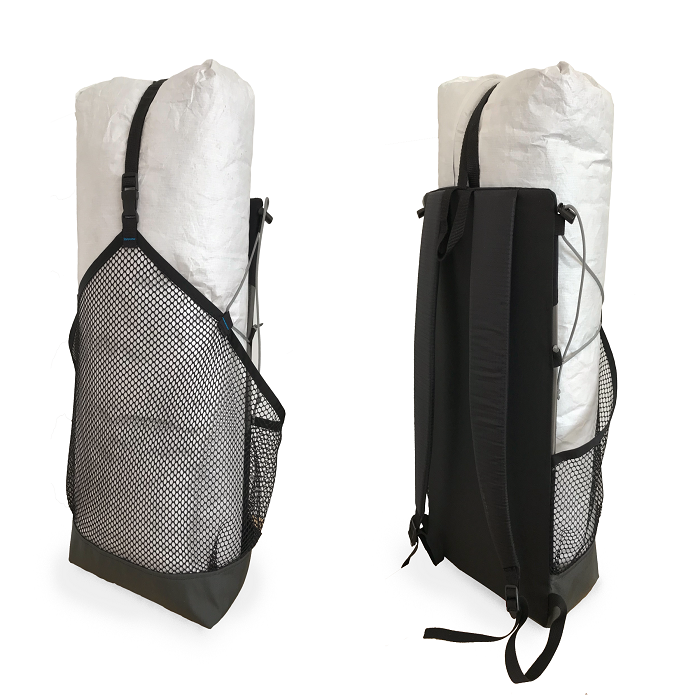
Assembling the Backpack Components
After cutting and preparing your fabrics, it’s time to assemble your backpack for men. This critical stage transforms the flat fabric pieces into a three-dimensional product. Follow these steps closely to ensure each component fits properly and creates a sturdy backpack.
- Organize Pieces: Lay out all the cut fabric and hardware parts. This makes it easier to see what goes where.
- Attach Straps: Begin by affixing the webbing for shoulder straps and handle. Double-check the length and positioning before sewing.
- Sew Pockets: If your design includes external pockets, now is the time to sew them onto the front or sides.
- Connect Front and Back: Carefully stitch the front piece to the back, right sides facing each other. Pay attention to aligning edges.
- Add Side Panels: Attach side fabric panels, ensuring they are evenly placed for a balanced look.
- Insert Zippers: Fix zippers in place according to your design, whether for the main compartment or smaller pockets.
Remember to keep your sewing machine settings appropriate for the thickness of materials. A nd take your time. This isn’t a race. Precision now means less trouble later.
Sewing and Constructing the Backpack
After organizing your materials and assembling the components, it’s time to start sewing. This stage is where your backpack will begin to look complete. Follow each step carefully to avoid mistakes.
- Sew the Seams: Start by sewing the main seams of your diy backpack. Use a straight stitch for strength.
- Reinforce Stress Points: Areas like strap attachments and bottom corners need extra reinforcement. Sew over these areas a second time.
- Attach the Lining: If your backpack has a lining, sew it in place now.
- Add Padding: Insert foam padding into the shoulder straps and back panel before sealing them off. This ensures comfort while carrying the backpack.
- Secure the Hardware: Now is the time to add any D-rings, buckles, or zippers if you haven’t yet.
- Final Inspection: Check all pockets, straps, and seams for any missing stitches or potential weak spots. Repair as needed.
Patience is key during this process. Take your time sewing to make a sturdy and durable backpack. If a mistake is made, it’s okay. Just unpick the stitch and try again. Once the sewing is done, your backpack will be nearly ready for use. All that’s left are the final touches to personalize and finish your backpack.
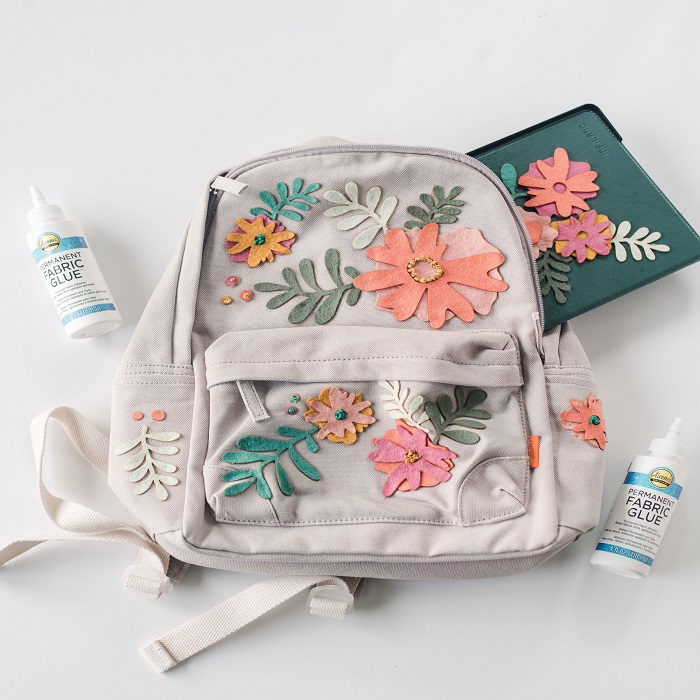
Adding Finishing Touches and Customization
After sewing your DIY backpack, it’s time to add those final touches. This step makes your designer backpack. Think about what makes a backpack not just useful, but special to you.
Here are some final steps to customize your backpack:
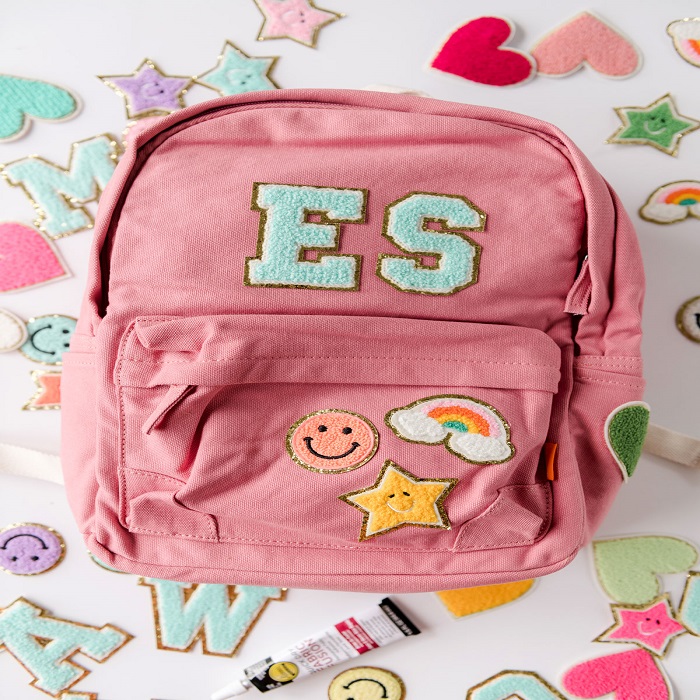
- Add Patches or Embroidery: Show off your style with unique patches. Sew them on the backpack’s visible areas.
- Install Extra Pockets: If you need more storage, add additional pockets. Choose spots that are accessible while wearing the backpack.
- Fine-Tune Strap Lengths: Adjust the lengths of your shoulder straps for a perfect fit. Ensure they’re even for comfort.
- Add Drawstrings or Elastic: These can secure items in external pockets. They add a functional design element too.
- Sew in a Label: If you plan to create more DIY gear, sew in a custom label. It adds a professional touch.
- Decorate with Paint or Markers: Use fabric paint or markers to draw designs. Let your creativity run wild.
- Water-Resistant Coating: Protect your backpack from the elements. Apply a spray-on water-resistant coating.
By customizing your backpack, you reflect your style and needs. It also sets your backpack apart from mass-produced options. Have fun with this last step, and enjoy your one-of-a-kind DIY backpack.
Conclusion
Congratulations on completing your DIY backpack journey! With patience and creativity, you’ve crafted a unique and personal item. Starting with essential materials and tools, conceptualizing a detailed design, and meticulously drawing sketches, you embarked on this rewarding challenge. Crafting and adjusting your pattern led to a hands-on prototype that brought your vision closer to reality. Cutting and preparing fabrics set the stage for the masterful assembly of backpack components.
Related Posts
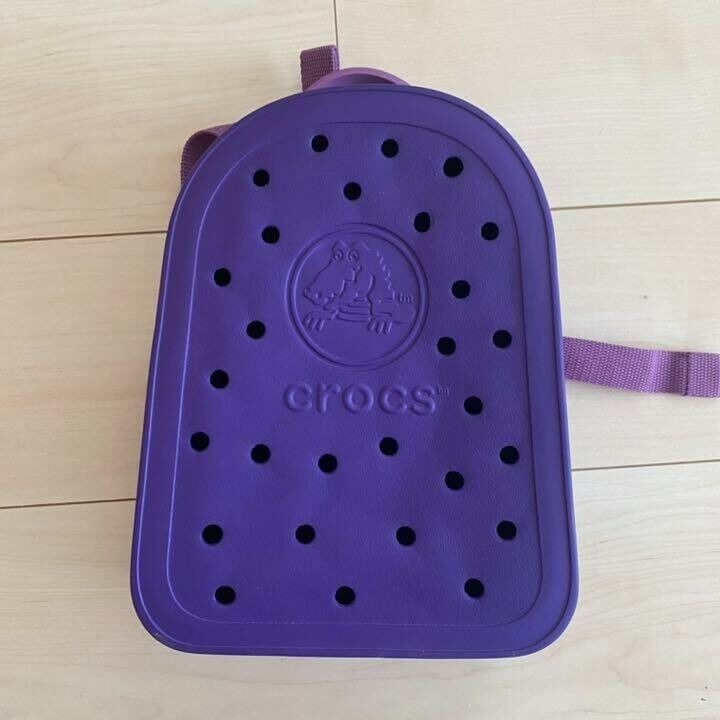
The Crocs Backpack – Trendy and Functional for Your Bags
Sleek Adidas Backpack for Your Active Lifestyle – Sport Bag