How to put a patch on a backpack?
How to put a patch on a backpack? Adding patches to backpacks is a popular way to personalize and customize them, showcasing your interests, style, or achievements. Attaching a patch to a backpack is a simple process that can be done at home with minimal tools and materials. In this guide, we will provide a step-by-step process to help you seamlessly attach a patch to your backpack, ensuring a secure and long-lasting bond while maintaining the integrity of the fabric.
Materials Needed:
- Patch
- Backpack
- Thread (matching color to the patch or backpack)
- Needle
- Pins
- Scissors
- Iron
- Ironing board or towel
Positioning and Pinning the Patch:
- Determine the desired placement of the patch on your backpack. Consider the design, size, and any other patches or elements you may want to pair it with.
- Use pins to temporarily secure the patch in place. Ensure that it is centered and aligned as desired.
Preparing the Thread and Needle:
- Thread a needle with a length of thread, leaving a double-stranded length for added strength.
- Tie a knot at the end of the thread, securing the strands together.
Securing the Patch with Stitches:
- Start stitching the patch to the laravel backpack by inserting the needle through the patch from the inside, near the edge of the patch.
- Pull the needle and thread through until the knot rests against the patch’s backside.
- Insert the needle back into the backpack fabric, close to where the thread emerged.
- Repeat this process, creating evenly spaced stitches around the edge of the patch. Take care to stitch through both the patch and the backpack fabric.
- Continue stitching, maintaining an even tension on the thread to ensure a secure attachment.
- Knot the thread on the patch’s backside when you have completed stitching around the entire perimeter of the patch. Cut off any excess thread.
Reinforcing the Patch (Optional):
- To reinforce the patch and ensure long-lasting attachment, create additional stitches across the center or throughout the patch’s interior. This step is particularly useful for larger or heavier patches.
- Use the same technique as in Step 3 to create even, spaced stitches across the patch’s surface.
Setting the Patch with Heat (Optional):
- If the patch is heat-activated or has adhesive backing, you can further secure it by using an iron.
- Place the ironing board or a folded towel on a flat surface.
- Position the backpack with the attached patch on top of the ironing board or towel.
- Set the iron to the appropriate temperature as per the patch’s instructions (low heat for delicate fabrics).
- Press the iron gently on the patch, applying even pressure for the recommended duration.
- Lift the iron and allow the patch to cool completely before handling or wearing the backpack.
Finishing Touches:
- Use scissors to trim any loose threads around the patch or kanken backpack.
- Inspect the patch, ensuring it is securely attached. If necessary, reinforce any loose areas with additional stitches.
How to decorate a backpack
Decorating a backpack with patches is a popular trend that adds personalization, style, and individuality to an otherwise ordinary bag. Patches provide a canvas for self-expression, allowing you to showcase your interests, passions, and unique personality.
Theme-Based Patch Clusters:
Create a thematic arrangement of patches that represent a particular interest, hobby, or theme. Here are a few ideas to inspire your patch cluster:
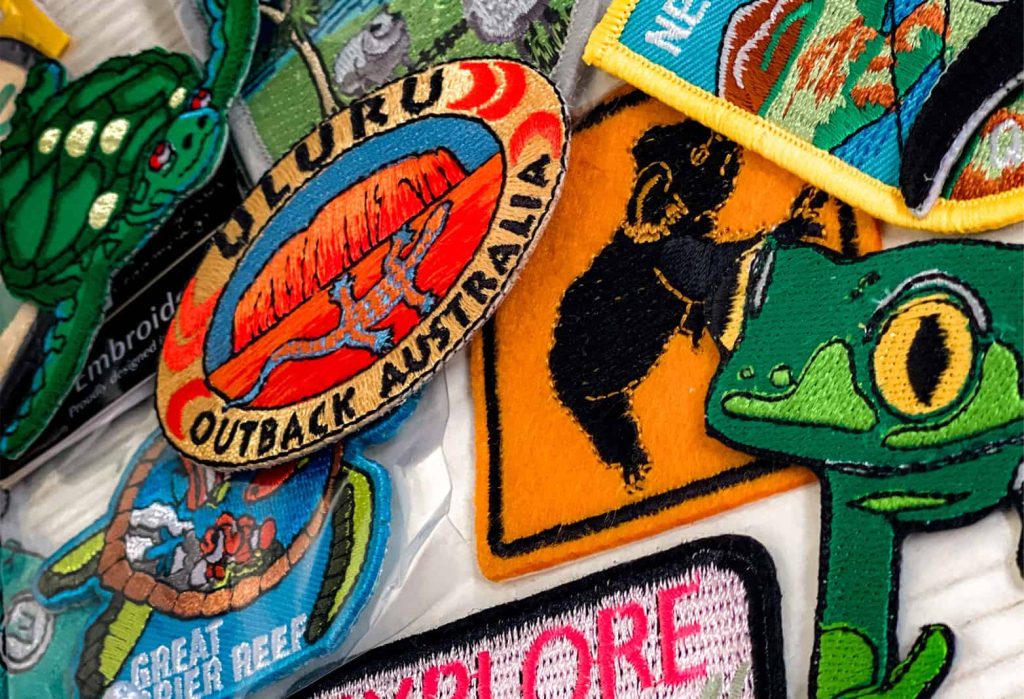
- Travel Adventure: Display patches from various countries or cities you’ve visited, including flags, landmarks, or travel-inspired motifs.
- Music Lover: Showcase patches featuring your favorite bands, music genres, or musical instruments to express your passion for music.
- Nature Enthusiast: Combine patches depicting animals, plants, or natural landscapes to celebrate your love for the great outdoors.
Mix Sizes and Shapes:
Play with different patch sizes and shapes to create visual interest and balance on your backpack. Here are some ways to achieve this:
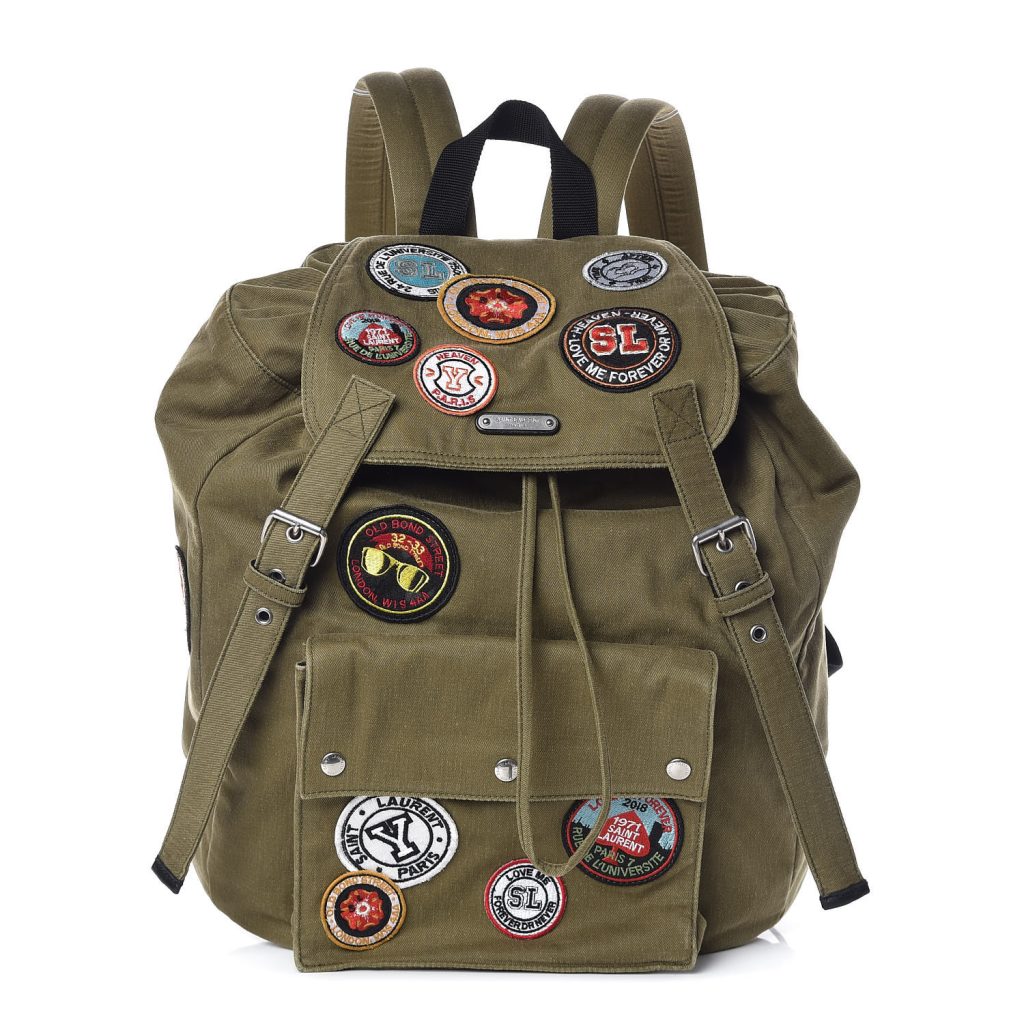
- Large Statement Patch: Use one large and eye-catching patch as the focal point. Surround it with smaller patches to enhance its impact.
- Patch Collage: Arrange patches of various sizes and shapes in a collage-style composition. Overlap patches to create a layered and textured effect.
- Border of Small Patches: Line the outer edges of your backpack with a border of smaller patches, creating a decorative frame for the entire bag.
Color Coordination:
Color coordination is essential for an aesthetically pleasing patch arrangement. Consider these approaches:
- Monochromatic: Stick to a single color palette, using patches in different shades of the same color. This creates a harmonious and sophisticated look.
- Complementary Colors: Combine patches in complementary colors to create a vibrant and dynamic visual contrast. For example, pair red patches with green or blue patches with orange.
- Color Blocking: Group patches of similar colors together, creating distinct color blocks on your backpack. This approach is modern and trendy.
Placement and Composition:
Consider how you arrange the patches on your waterproof backpack to achieve a visually appealing composition:
- Symmetrical: Position patches symmetrically on both sides of your backpack, ensuring a balanced look.
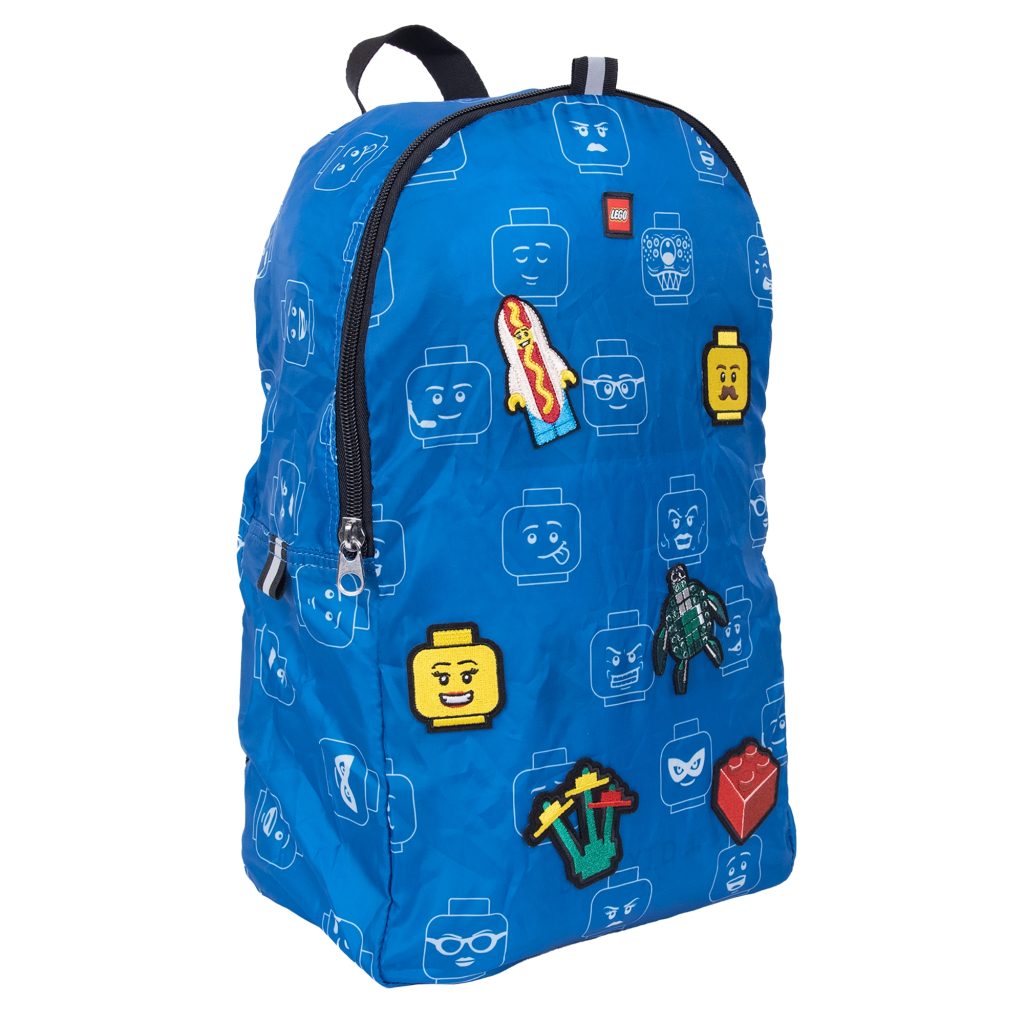
- Random Scatter: Place patches randomly across the surface of the bag for a playful and eclectic aesthetic.
- Centered Focal Point: Create a central area on your backpack to feature your favorite patch or a cluster of related patches, drawing attention to the focal point.
Embellishment and Accessories:
Complement the patches with other decorative elements to enhance the overall design:
- Buttons and Pins: Add extra flair by attaching buttons or pins around the patches. These can feature slogans, logos, or additional decorative elements.
- Embroidery and Stitching: Embroider around the patches or add decorative stitching to give a handmade and personalized touch.
- Beads and Sequins: Incorporate beads or sequins to add a touch of sparkle and texture to your patch arrangement.
Conclusion:
Attaching a patch to your backpack is an easy and enjoyable way to personalize your accessory while showcasing your style and interests. By following this step-by-step guide, you can seamlessly attach a patch to your backpack, creating a durable and eye-catching design element. Remember to position and pin the patch accurately, use sturdy and even stitches, and reinforce as needed. Additionally, you can further secure the patch with heat using an iron if the patch is heat-activated or has adhesive backing. With a little creativity and careful execution, your backpack will become a unique reflection of your personality.
Related Posts
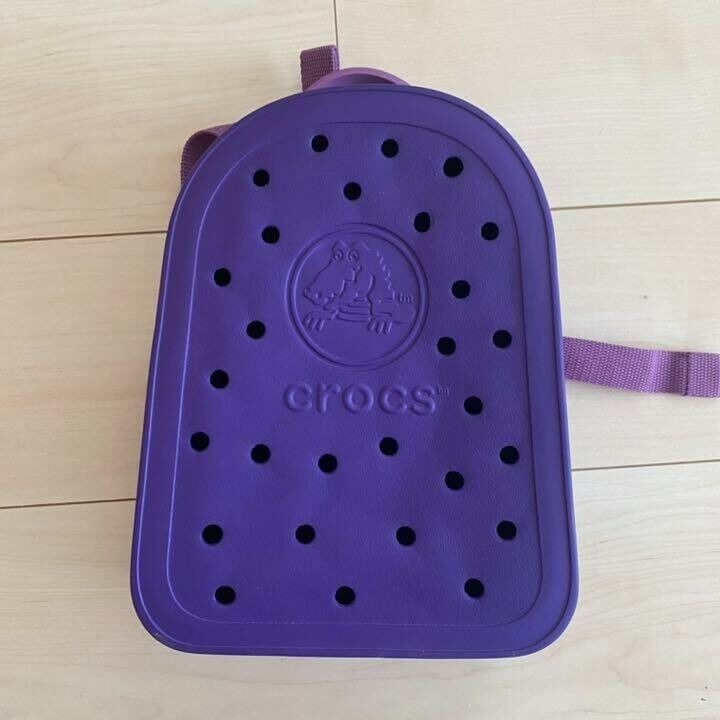
The Crocs Backpack – Trendy and Functional for Your Bags
Sleek Adidas Backpack for Your Active Lifestyle – Sport Bag